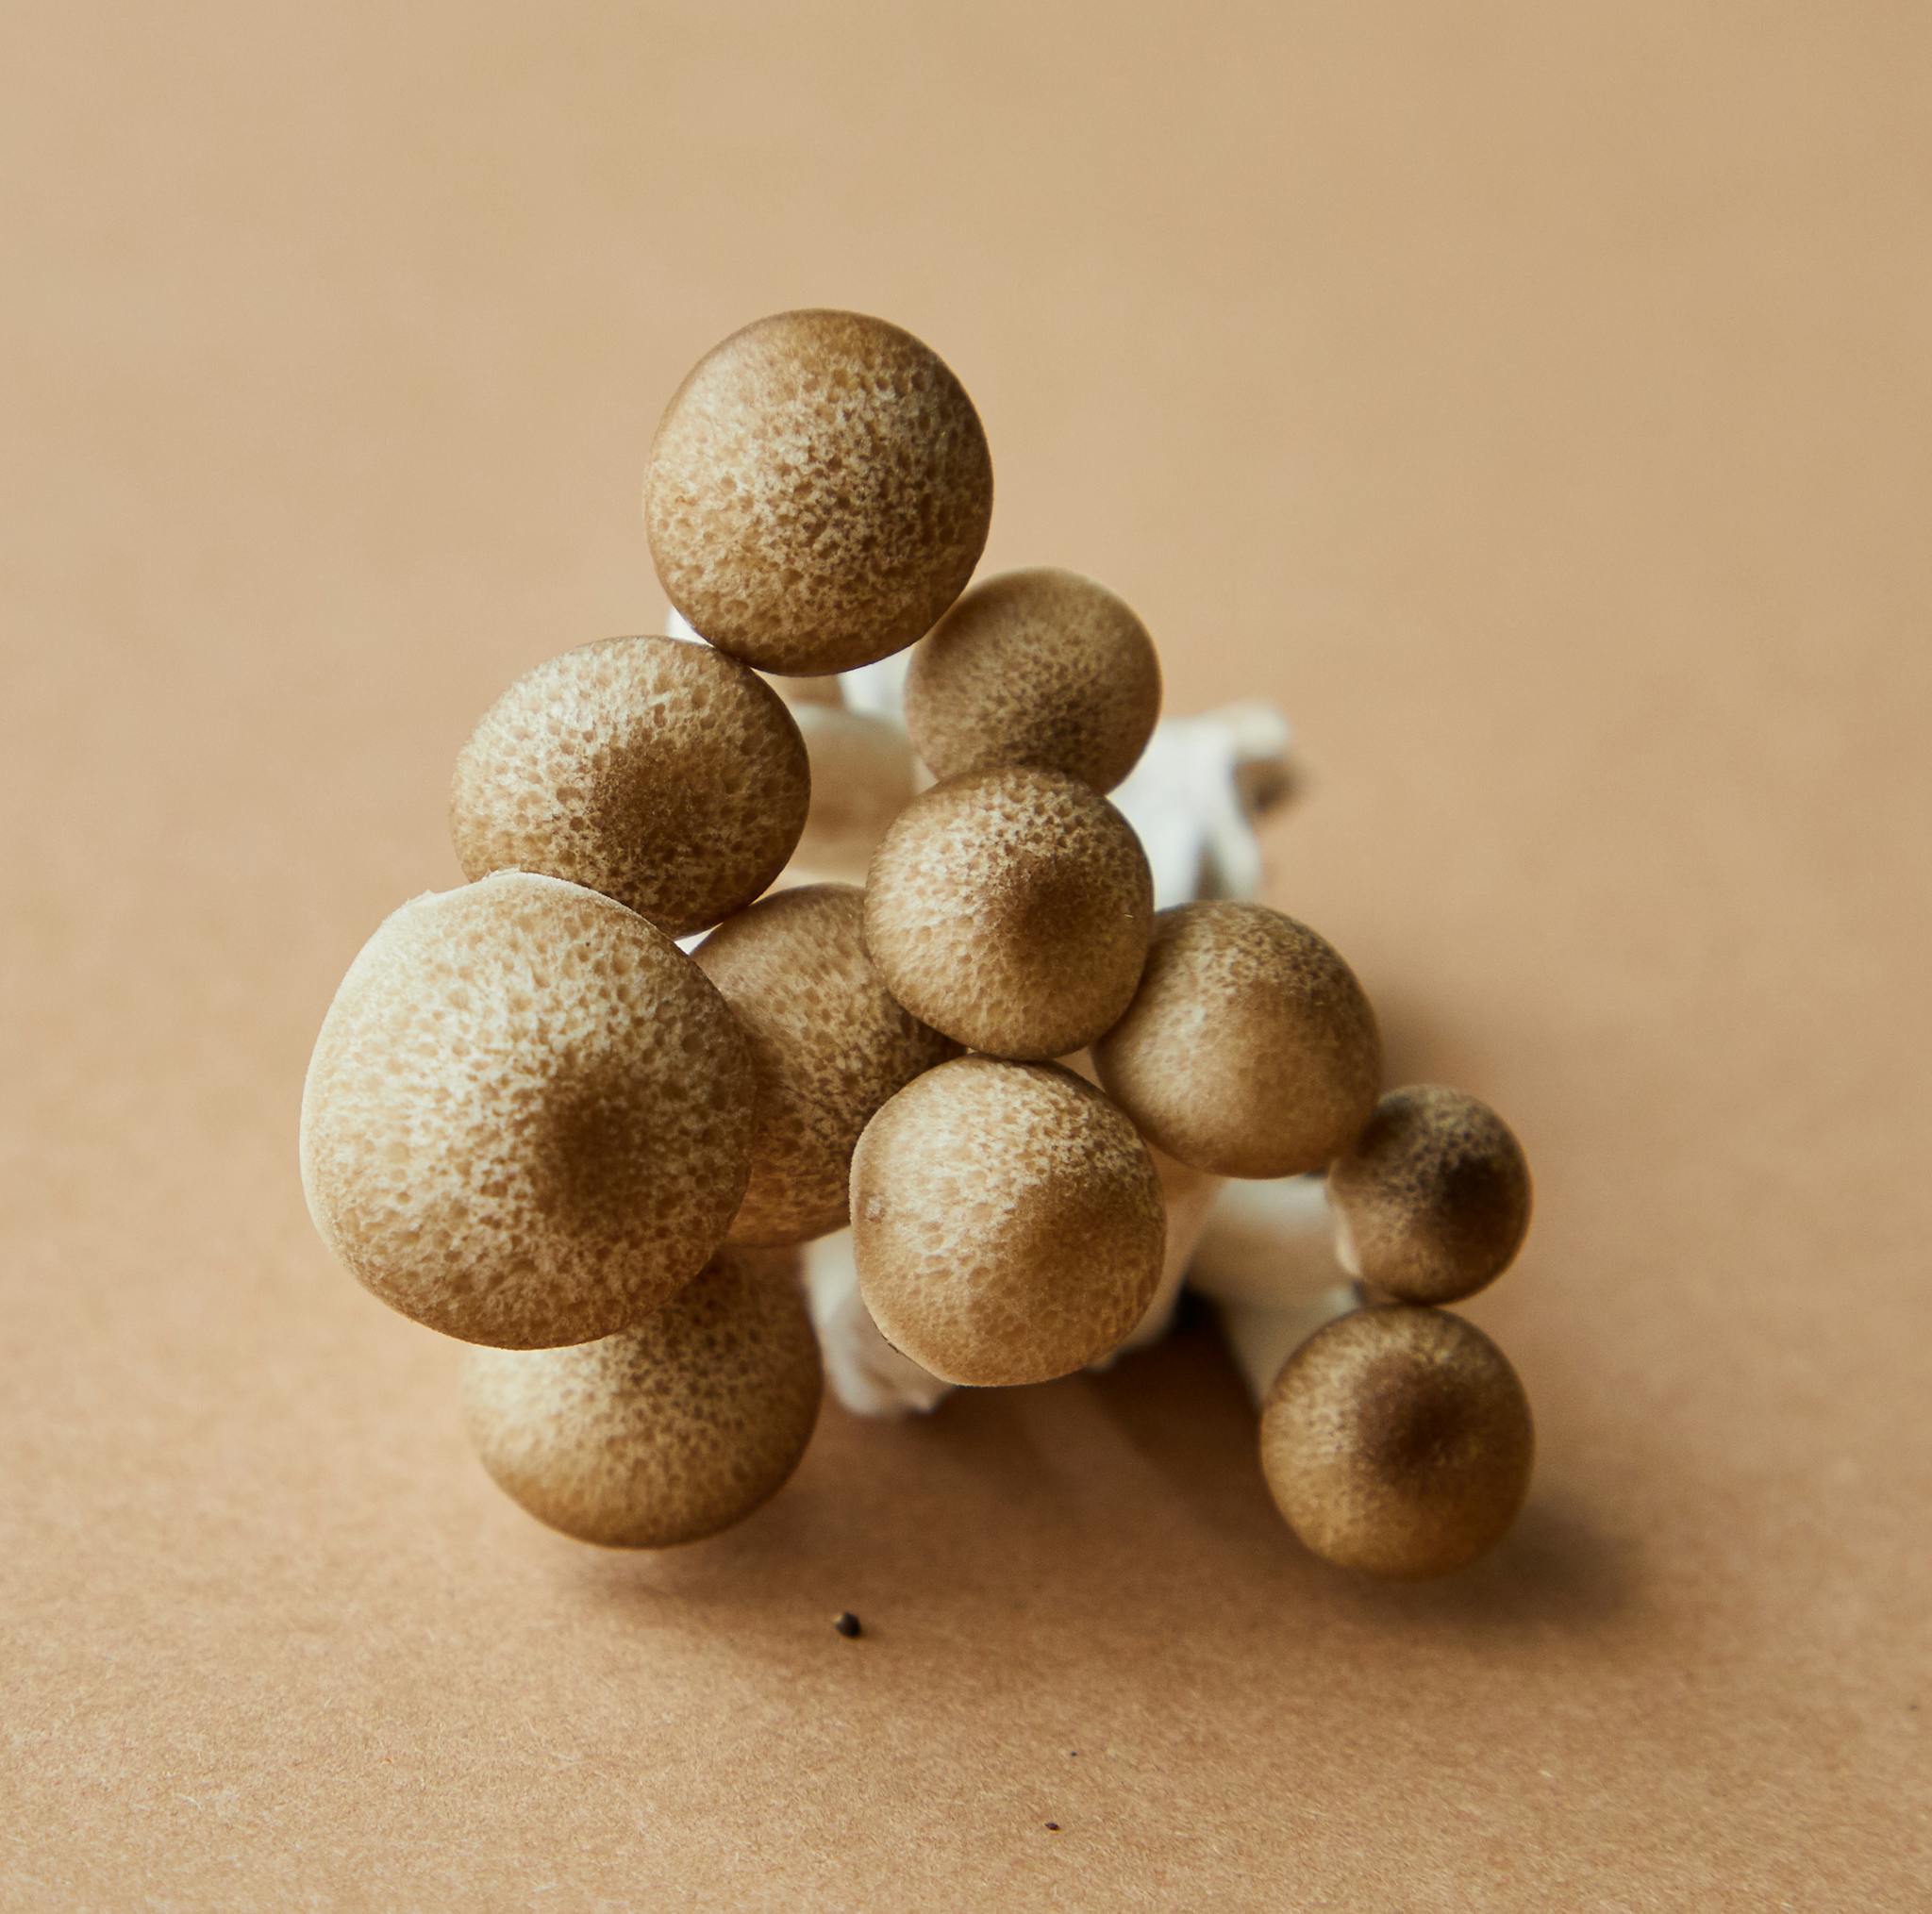
From Seed to Plate: A Guide on How to Grow Beech Mushrooms

If you're a fan of mushrooms, you will definitely want to try growing beech mushrooms. These small and flavorful fungi are a popular ingredient among chefs, and can add a unique taste to many dishes. Plus, growing your own mushrooms can be a rewarding and fulfilling experience. In this guide, we will show you step by step how to grow beech mushrooms from seed to plate.
Step 1: Acquire the Right Materials
Before you start growing beech mushrooms, you need to acquire the right materials. Here's a list of what you will need:
Beech mushroom spores or a grow kit
Organic substrate (for example sawdust, straw, or cardboard)
A container (for example a plastic container or a bag)
A spray bottle
A thermometer
Beech mushroom spores and grow kits can usually be found in specialty stores or online. The organic substrate can be any kind of material that the mushrooms can grow on, but should be free of chemicals or additives. For the container, you can choose between a plastic container or a bag. The container should have some ventilation holes to allow air to circulate. The spray bottle is used to maintain the humidity inside the container. The thermometer is used to monitor the temperature.
Step 2: Prepare the Substrate
The next step is to prepare the substrate. If you're using sawdust, you first need to sterilize it by boiling it for one hour. If you're using straw or cardboard, you should soak it in water for several hours until it's moist. After that, drain the water and chop the material into small pieces. The substrate should be moist, but not dripping wet.
Step 3: Inoculate the Substrate
The third step is to inoculate the substrate with the beech mushroom spores or the grow kit. The easiest way to do this is to mix the spores or the grow kit with the substrate in a bowl. Once the spores or grow kit have been mixed with the substrate, transfer the mixture into the container, and pack it down firmly. Cover the substrate with a layer of plastic wrap, and puncture some holes for ventilation.
Step 4: Incubate the Substrate
The next step is to incubate the substrate. For the first few days, the container should be kept in a dark and warm place. The temperature should be between 70°F (20°C) and 75°F (24°C). After a few days, you should see some white filaments called mycelium growing on the surface of the substrate. When the mycelium has completely colonized the substrate, it's time to move on to the next step.
Step 5: Pinning
Now it's time to move on to the pinning stage. This is when the mushroom caps start to form. At this stage, the container should be kept in a cool and well-lit place. The temperature should be between 60°F (15°C) and 65°F (18°C). You should also make sure that the humidity is kept at around 90%. Spray the inside of the container with the spray bottle to maintain the humidity.
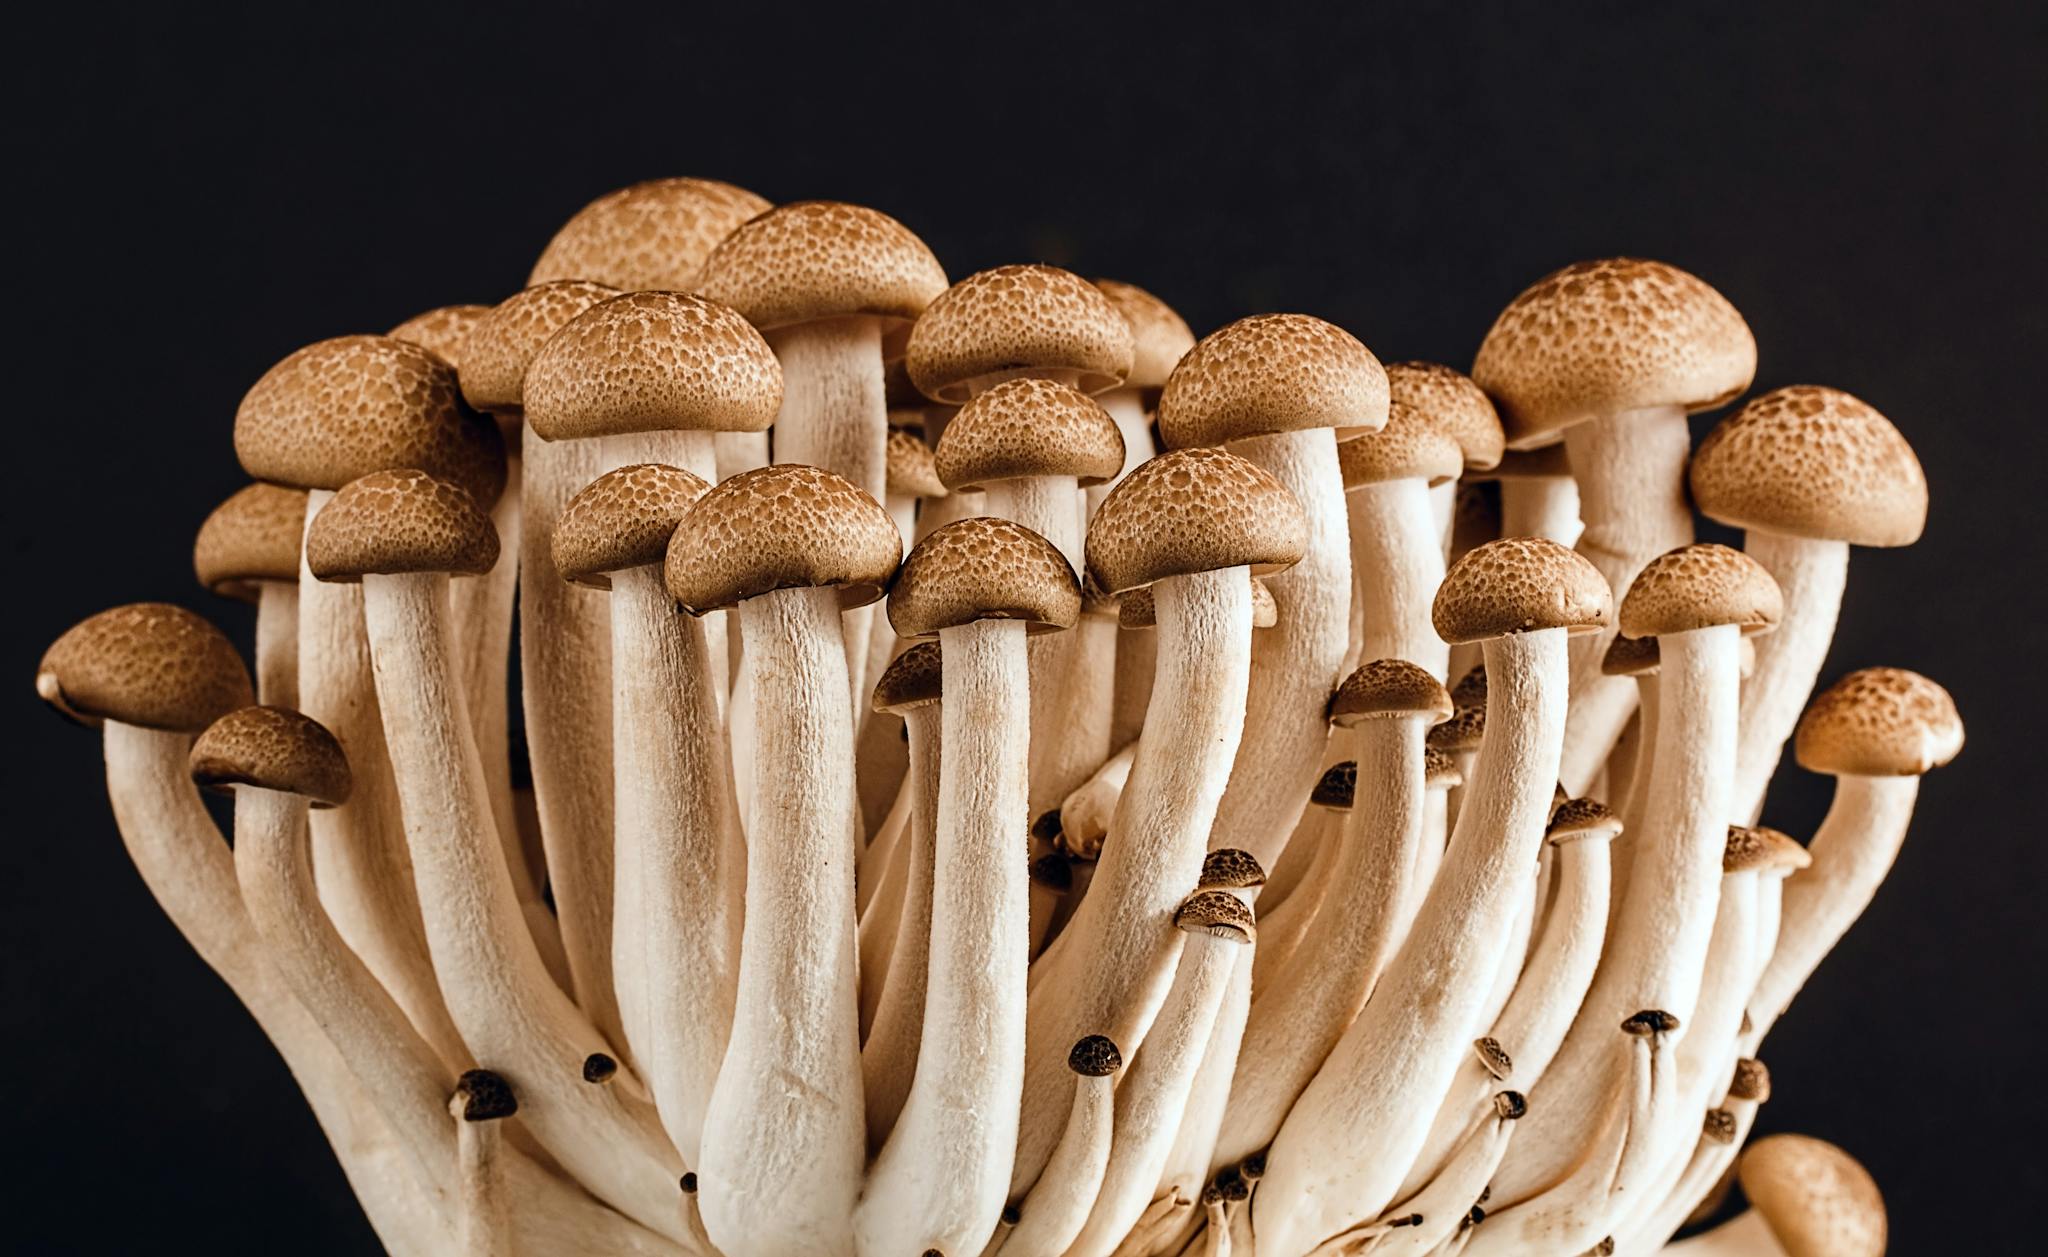
Step 6: Harvesting
It takes about two weeks for the mushrooms to mature. When the mushrooms are fully grown, they can be harvested by twisting them off the substrate. Make sure to harvest them when the caps are still tightly closed. When you're done harvesting, remove any leftover substrate from the container, and sterilize it before starting again.
In conclusion, growing beech mushrooms is not that difficult, but it does require some patience and attention to detail. By following these simple steps, you can enjoy these delicious mushrooms any time you want. As you can see, knowing how to grow beech mushrooms is just one step in reconnecting yourself with your food. When you grow your own food, you become more aware of how it's produced, how it tastes, and how it makes you feel. That's the kind of relationship we aspire to have with our food, and we hope that this guide can help you take one step closer to that goal.
Learn More About Beech Mushrooms
About Foraged
At Foraged, we’re on a mission to empower small-scale food purveyors to grow healthy, sustainable businesses while nourishing everyday people by providing easy access to unique foods.
By supporting Foraged vendors, you're helping to build a better, more sustainable food system for everyone.
Plus, we're committed to doing things the right way - our platform puts the power back in the knowledgeable hands of those who grow, harvest, and create foods most responsibly.
And we don't just stop there, we also want to make sure you know how to cook and preserve the specialty foods you source from Foraged, which is why we provide educational resources and delicious recipes for you to try.