Growing Oyster Mushrooms at Home: A Complete Guide
Oyster mushrooms are a delicious and nutritious type of fungi that have gained popularity in recent years. These mushrooms are easy to grow, making them an ideal choice for home gardeners and enthusiasts. If you're interested in growing your own oyster mushrooms at home, this guide will give you all the information you need to get started.
Oyster mushrooms are a type of edible mushroom that belong to the Pleurotus family. They have a distinct shape, with a cap that resembles an oyster shell and a short stem. Oyster mushrooms come in a variety of colors, including white, grey, and brown, and have a delicate, mild flavor. They are also rich in nutrients such as protein, fiber, vitamins, and minerals, making them an excellent addition to any diet.
Benefits of Growing Oyster Mushrooms at Home
There are many advantages to growing your own oyster mushrooms at home. For starters, it's a fun and rewarding hobby that can provide you with a fresh and sustainable source of food. You'll also save money by growing your own mushrooms instead of buying them at the grocery store.
Setting up Your Oyster Mushroom Farm
To get started with growing oyster mushrooms at home, you'll need a few basic materials and equipment. First, you'll need a growing medium, which can be anything from straw to sawdust to coffee grounds. You'll also need a container or bag to hold the growing medium and mushroom spawn, as well as a source of heat and humidity. Let's dive deeper into what you need to set up your oyster mushroom farm.
1.Growing Medium
The growing medium is the material that the mushroom spawn will colonize and eventually fruit from. Oyster mushrooms can be grown on a variety of substrates, including straw, sawdust, coffee grounds, or even cotton waste. Each substrate has its own unique advantages and disadvantages, and the choice of substrate may also affect the flavor and texture of the mushrooms.
If you're new to mushroom cultivation, it's recommended to start with a pre-made mushroom kit that includes the growing medium and mushroom spawn. This will simplify the process and give you a better chance of success.
2.Container or Bag
Once you've chosen your growing medium, you'll need a container or bag to hold it and the mushroom spawn. Plastic bags are a popular choice, as they're easy to sterilize and provide a sealed, controlled environment for the mushrooms to grow in. Alternatively, you can use a plastic or metal container with holes for air circulation.
Regardless of which type of container you choose, make sure it's large enough to accommodate the amount of growing medium and mushroom spawn you're using.
3.Mushroom Spawn
Mushroom spawn is the "seed" of the mushroom that will colonize the growing medium and eventually fruit. You can purchase mushroom spawn online or from a local supplier. Make sure to choose a high-quality spawn that's compatible with the substrate you're using.
4.Heat and Humidity
Oyster mushrooms thrive in a warm and humid environment. Ideally, the temperature should be between 20-24°C (68-75°F) and the relative humidity should be around 85-95%. You can achieve these conditions by using a heat mat or incubator to regulate the temperature, and a humidifier or spray bottle to maintain the humidity.
It's also important to ensure proper air circulation to prevent the buildup of carbon dioxide and promote healthy mushroom growth.
Once you have all the necessary materials and equipment, it's time to start setting up your oyster mushroom farm. Follow the instructions provided with your mushroom kit or consult online resources for detailed step-by-step instructions. With a bit of patience and care, you'll soon be harvesting your own delicious and nutritious oyster mushrooms at home.
Growing Oyster Mushrooms at Home: Step-by-Step
Once you have all your materials and equipment ready, it's time to start growing your oyster mushrooms. The process involves inoculating your growing medium with mushroom spawn, keeping it at the right temperature and humidity, and waiting for the mushrooms to grow. With a bit of patience and care, you can have a bountiful harvest of fresh, delicious oyster mushrooms in just a few weeks. Let's break down the process of growing oyster mushrooms at home step-by-step:
1.Sterilize Your Growing Medium
Before you can inoculate your growing medium with mushroom spawn, it's important to sterilize it to prevent contamination from other fungi or bacteria. This can be done by boiling or steaming the substrate for at least an hour, or by using a pressure cooker.
2.Inoculate Your Growing Medium
Once your growing medium has cooled down, it's time to inoculate it with mushroom spawn. Break up the spawn into small pieces and mix it thoroughly with the substrate. Then, transfer the mixture into your container or bag and seal it up.
3.Incubate Your Mushroom Spawn
Place your container or bag in a warm, humid environment to encourage the mushroom spawn to colonize the substrate. You can use a heat mat or incubator to regulate the temperature and a humidifier or spray bottle to maintain the humidity.
4.Allow Your Mushrooms to Fruit
After several days or weeks, you should start to see white, fluffy mycelium growing throughout your substrate. This is a sign that the mushroom spawn has successfully colonized the growing medium and is ready to fruit. To encourage fruiting, you can lower the temperature slightly and increase the humidity.
5.Harvest Your Oyster Mushrooms
Once your oyster mushrooms have reached maturity, they're ready to be harvested. Use a sharp knife or scissors to cut the mushrooms at the base of the stem. Be sure to harvest your mushrooms before the caps begin to flatten out, as this is a sign of overripeness.
6.Repeat the Process
After harvesting your first flush of mushrooms, you can repeat the process by adding more mushroom spawn to your substrate and incubating it again. Oyster mushrooms can produce multiple flushes of fruiting bodies, so with proper care, you can continue to harvest fresh mushrooms for several weeks.
Some Tips for Successful Cultivation and Maintenance of Oyster Mushrooms:
Keep your hands, tools, and work area clean and sterilized to prevent contamination.
Choose a substrate that's appropriate for your skill level and available resources.
Make sure your mushroom spawn is high-quality and compatible with your chosen substrate.
Monitor the temperature and humidity regularly to ensure optimal growing conditions.
Keep your substrate moist but not waterlogged to prevent mold or bacterial growth.
Don't harvest your mushrooms too late, as overripeness can affect the quality and flavor of the mushrooms.
Dispose of any contaminated substrate or mushroom spawn to prevent the spread of diseases or pests.
Harvesting and Storing Your Oyster Mushrooms
Waiting until oyster mushrooms are fully grown is the key to harvesting them. This means that you have to wait until the caps have opened all the way and the edges have started to curl up. When your mushrooms are ready, you can tell by gently pulling on the stem. If it breaks easily, it's time to pick them. It's important to pick oyster mushrooms as soon as they're ready, because if they sit on the substrate for too long, they can quickly become too ripe and slimy. Once you've harvested your oyster mushrooms, it's time to store them. If you plan to use them within a few days, you can store them in a paper bag in the refrigerator. This will help prevent moisture buildup and ensure that your mushrooms stay fresh. However, if you have a large harvest and want to store your mushrooms for a longer period of time, there are several other options. One popular method for preserving oyster mushrooms is to dry them. To do this, simply slice your mushrooms into thin pieces and place them in a dehydrator or in the oven on a low temperature. Once they're completely dry, store them in an airtight container in a cool, dry place. Another option is to freeze your mushrooms. To do this, clean and slice your mushrooms, then place them in a single layer on a baking sheet and freeze for several hours. Once they're frozen, transfer them to an airtight container and store in the freezer until you're ready to use them.
Cooking with Oyster Mushrooms
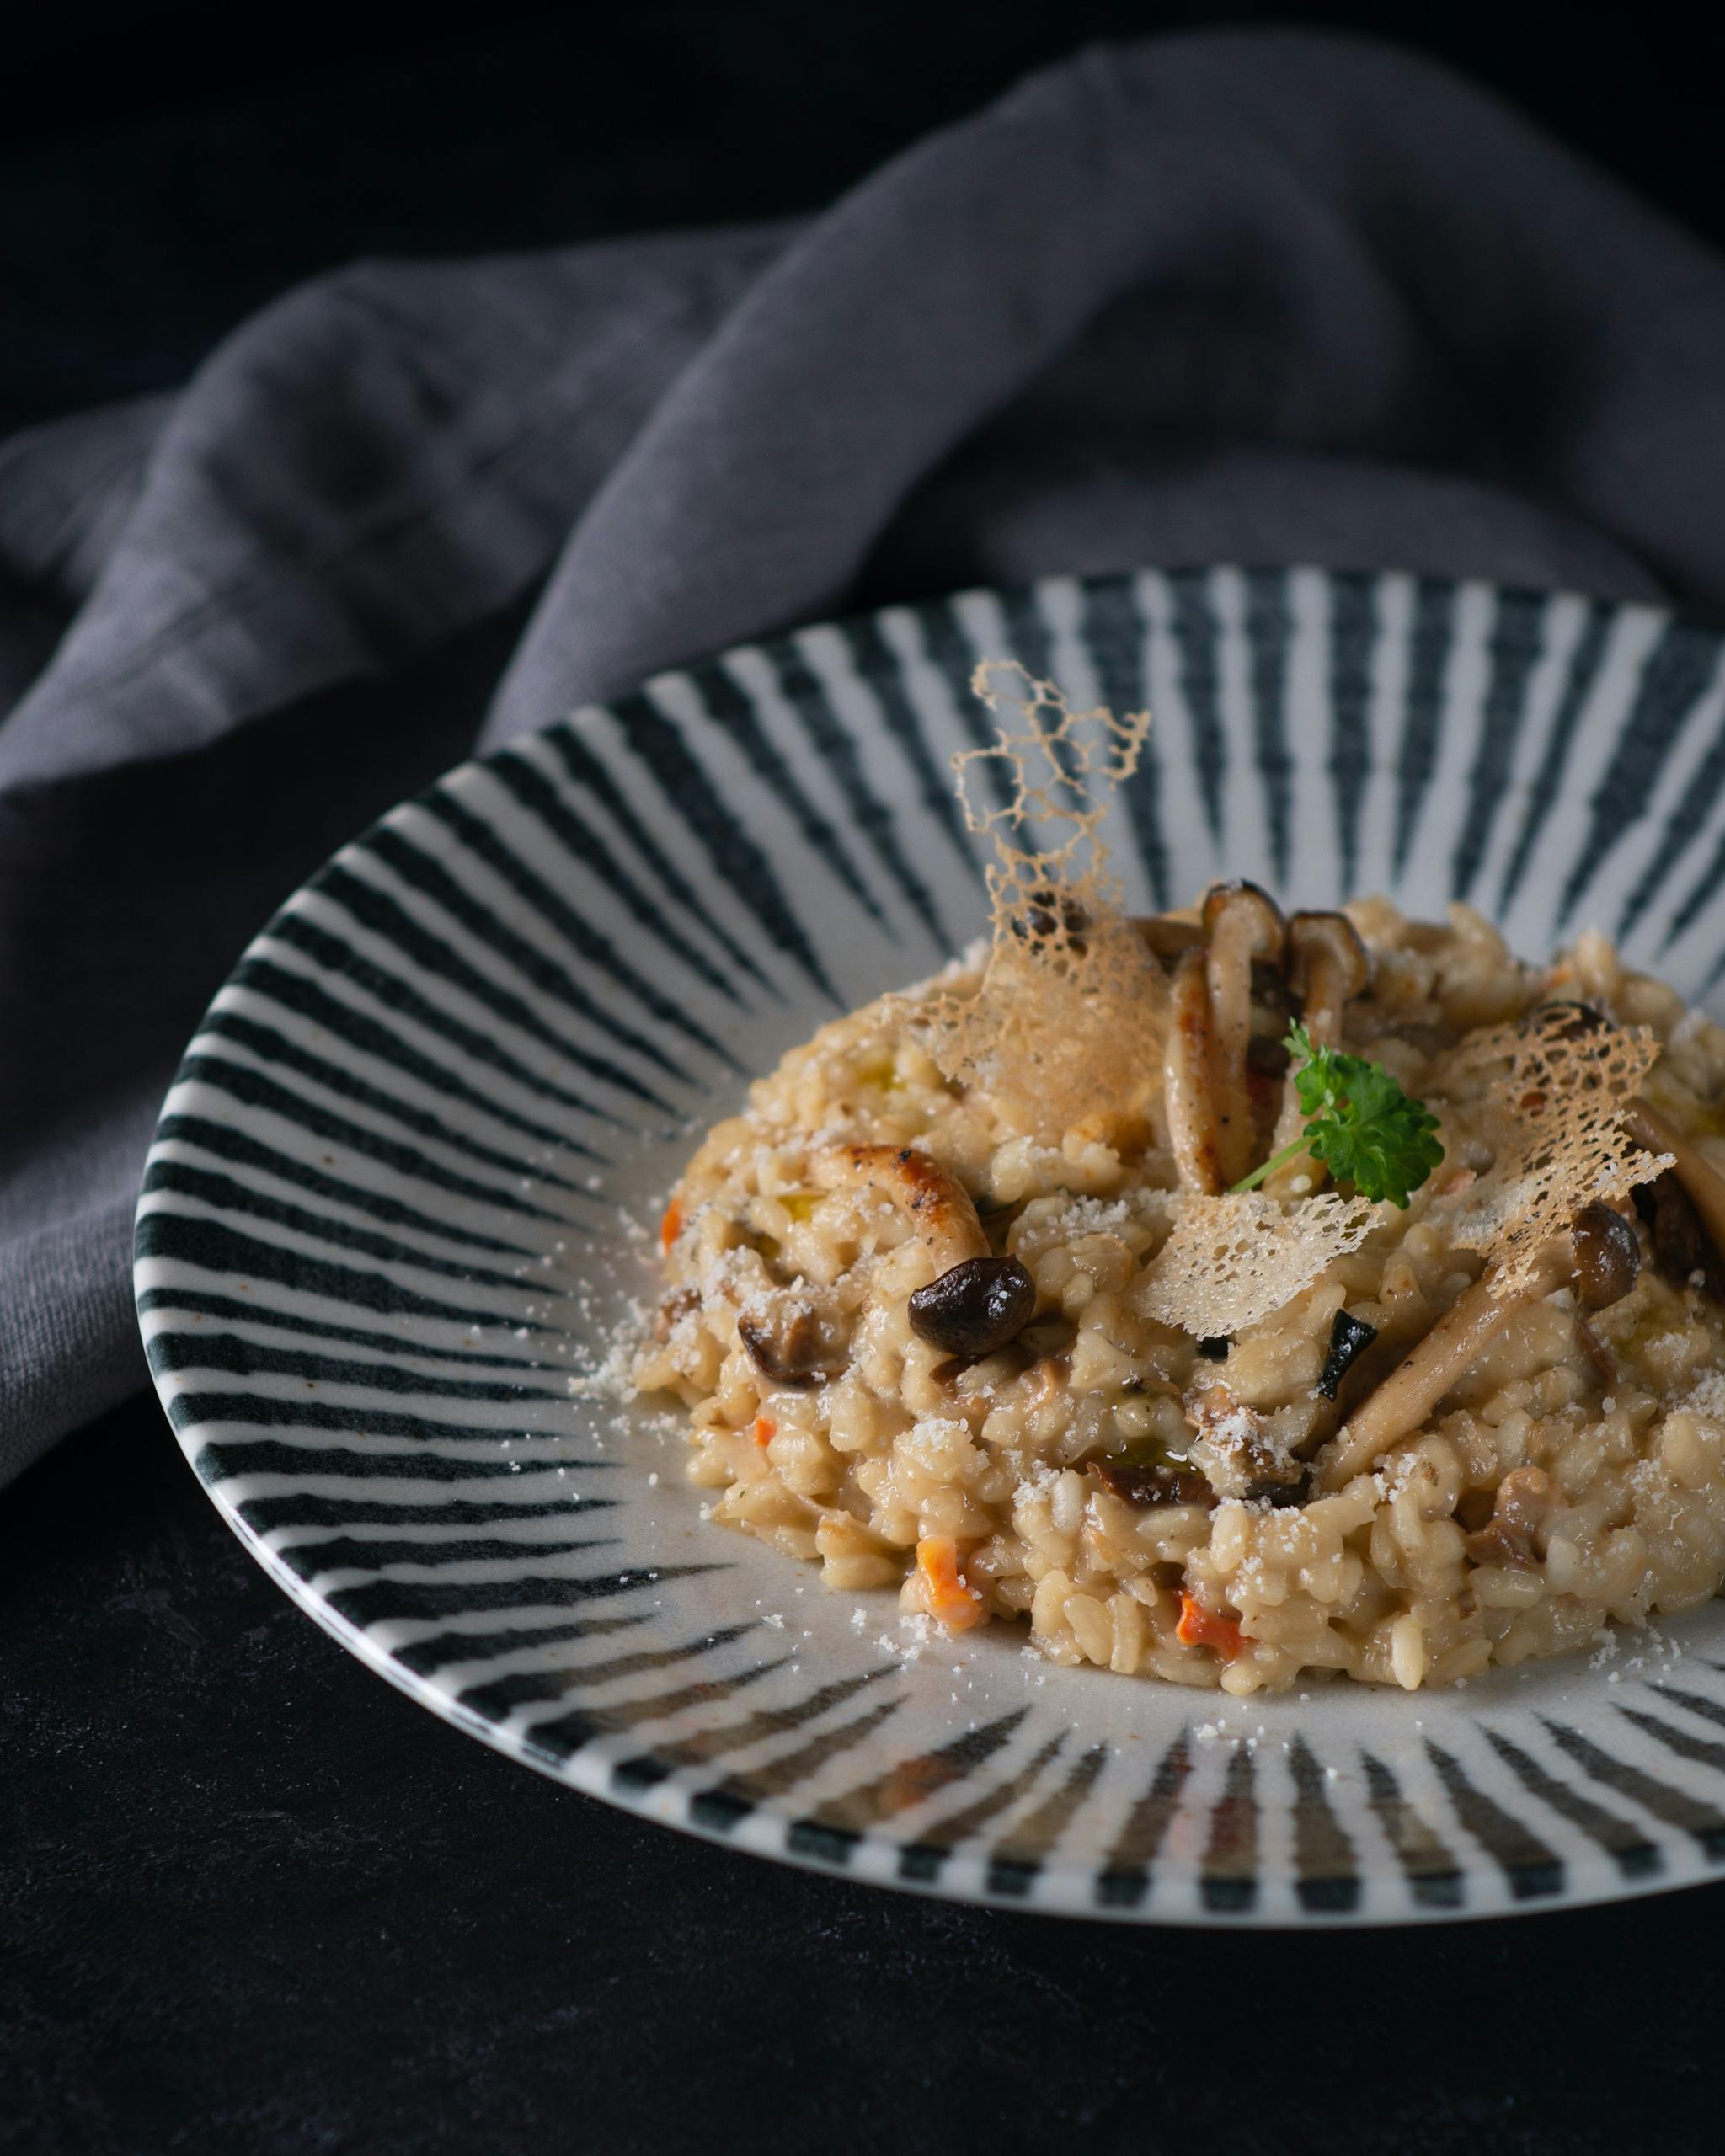
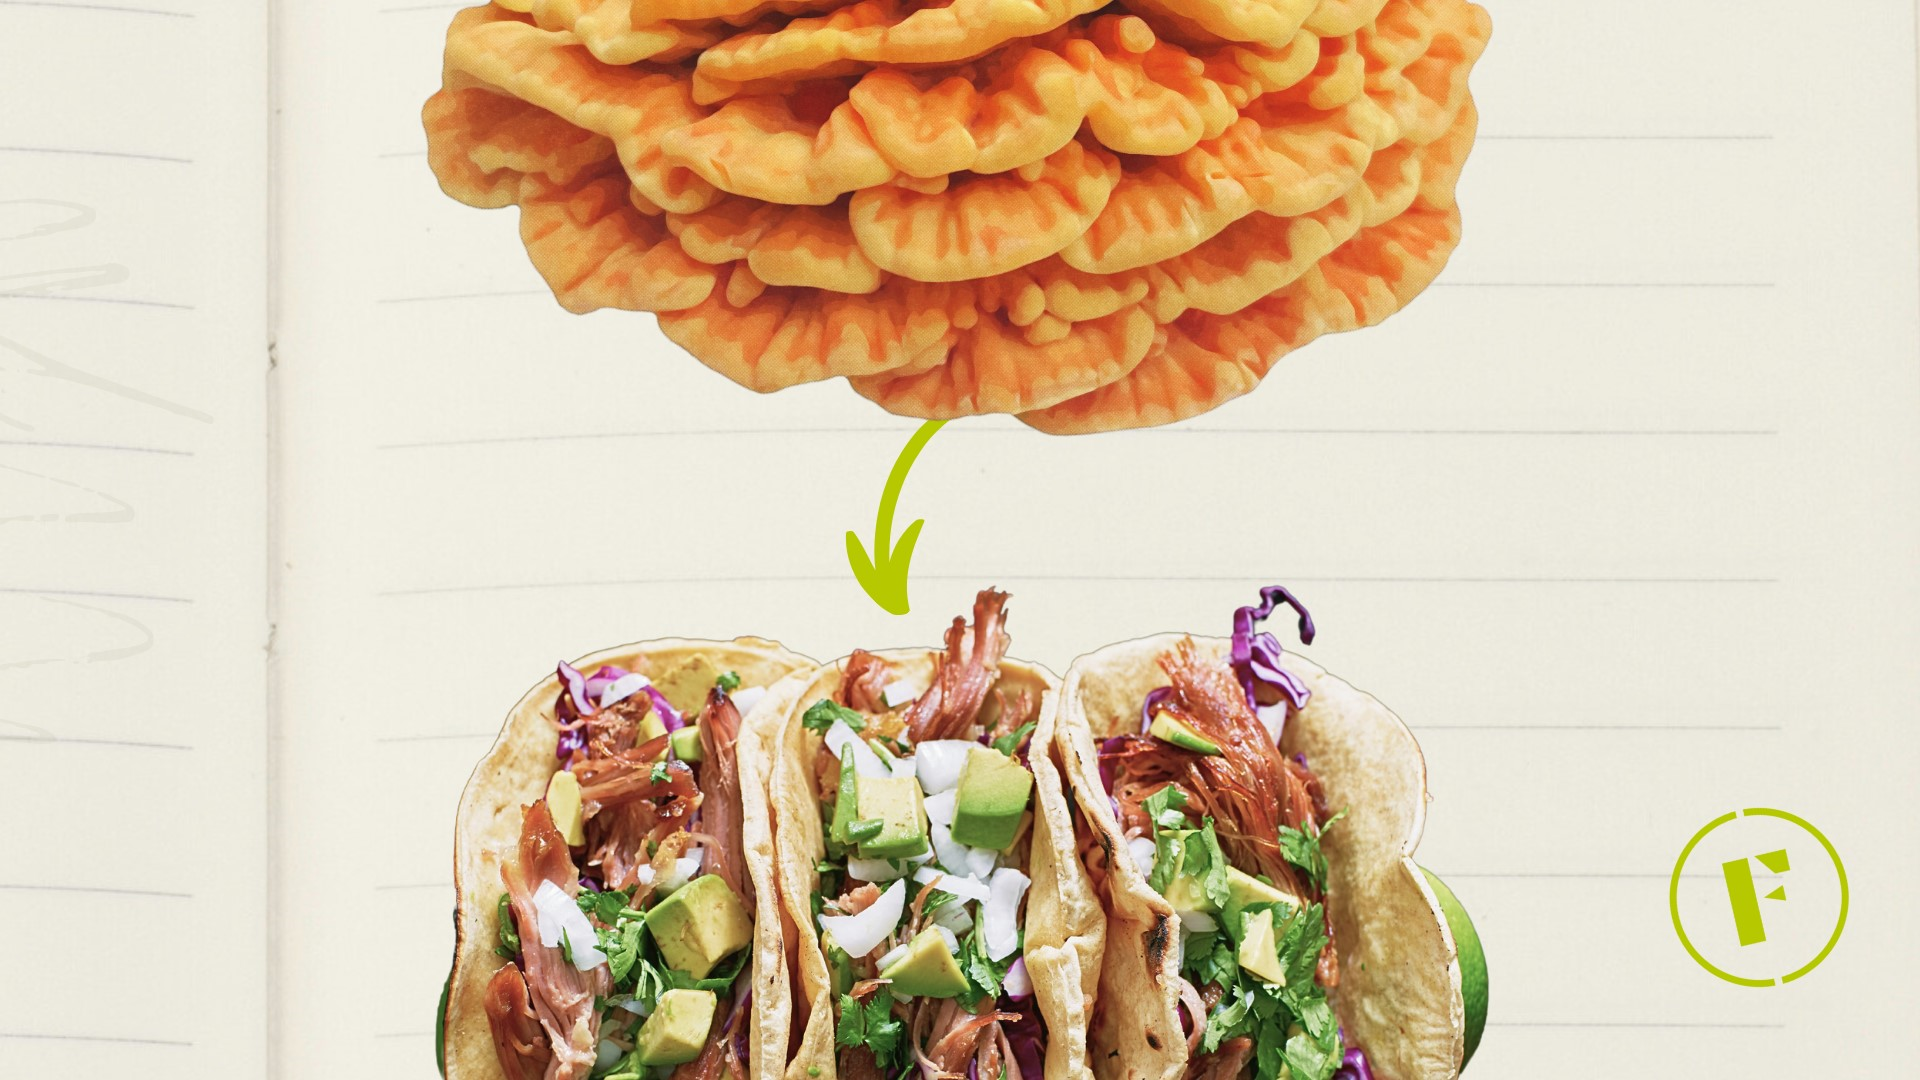
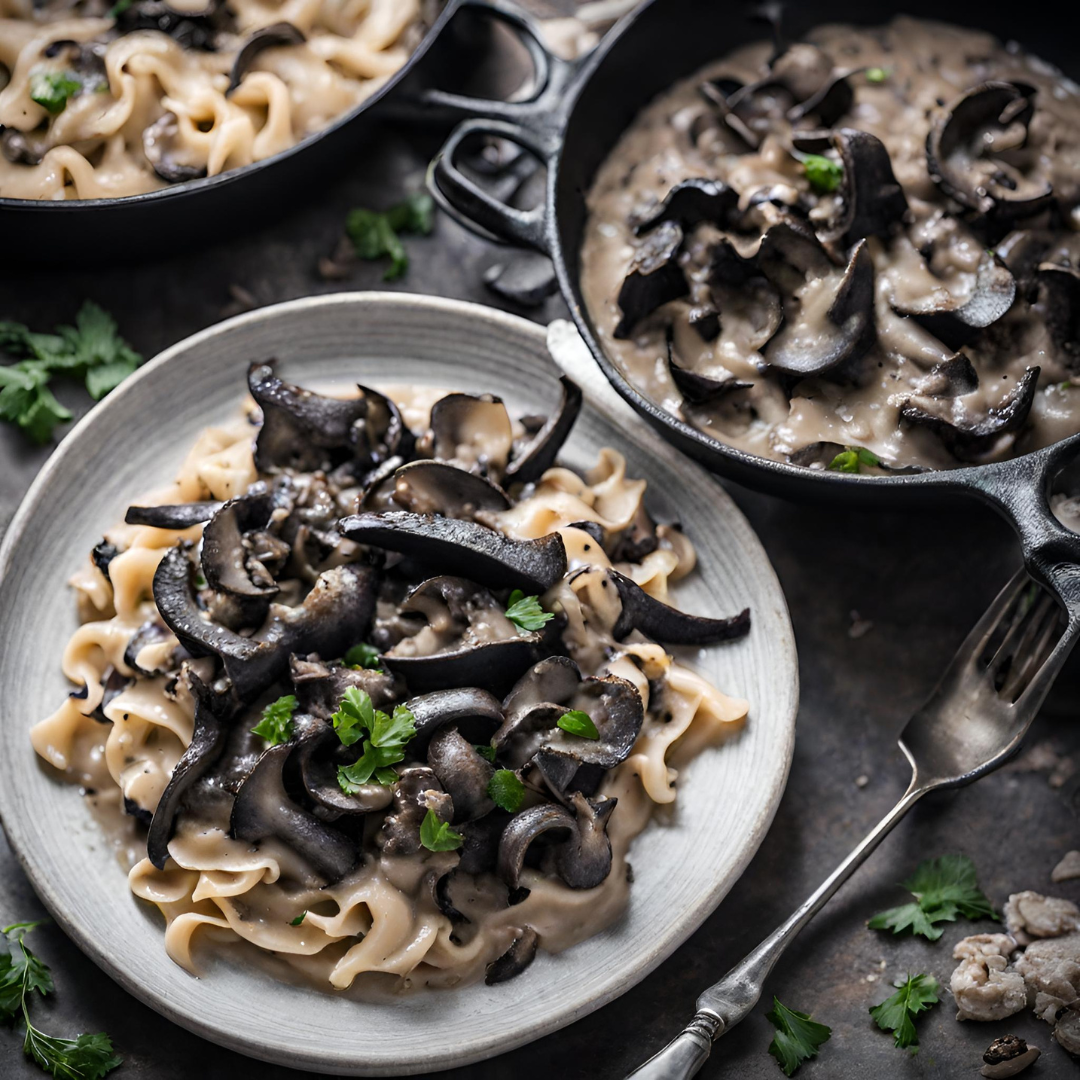
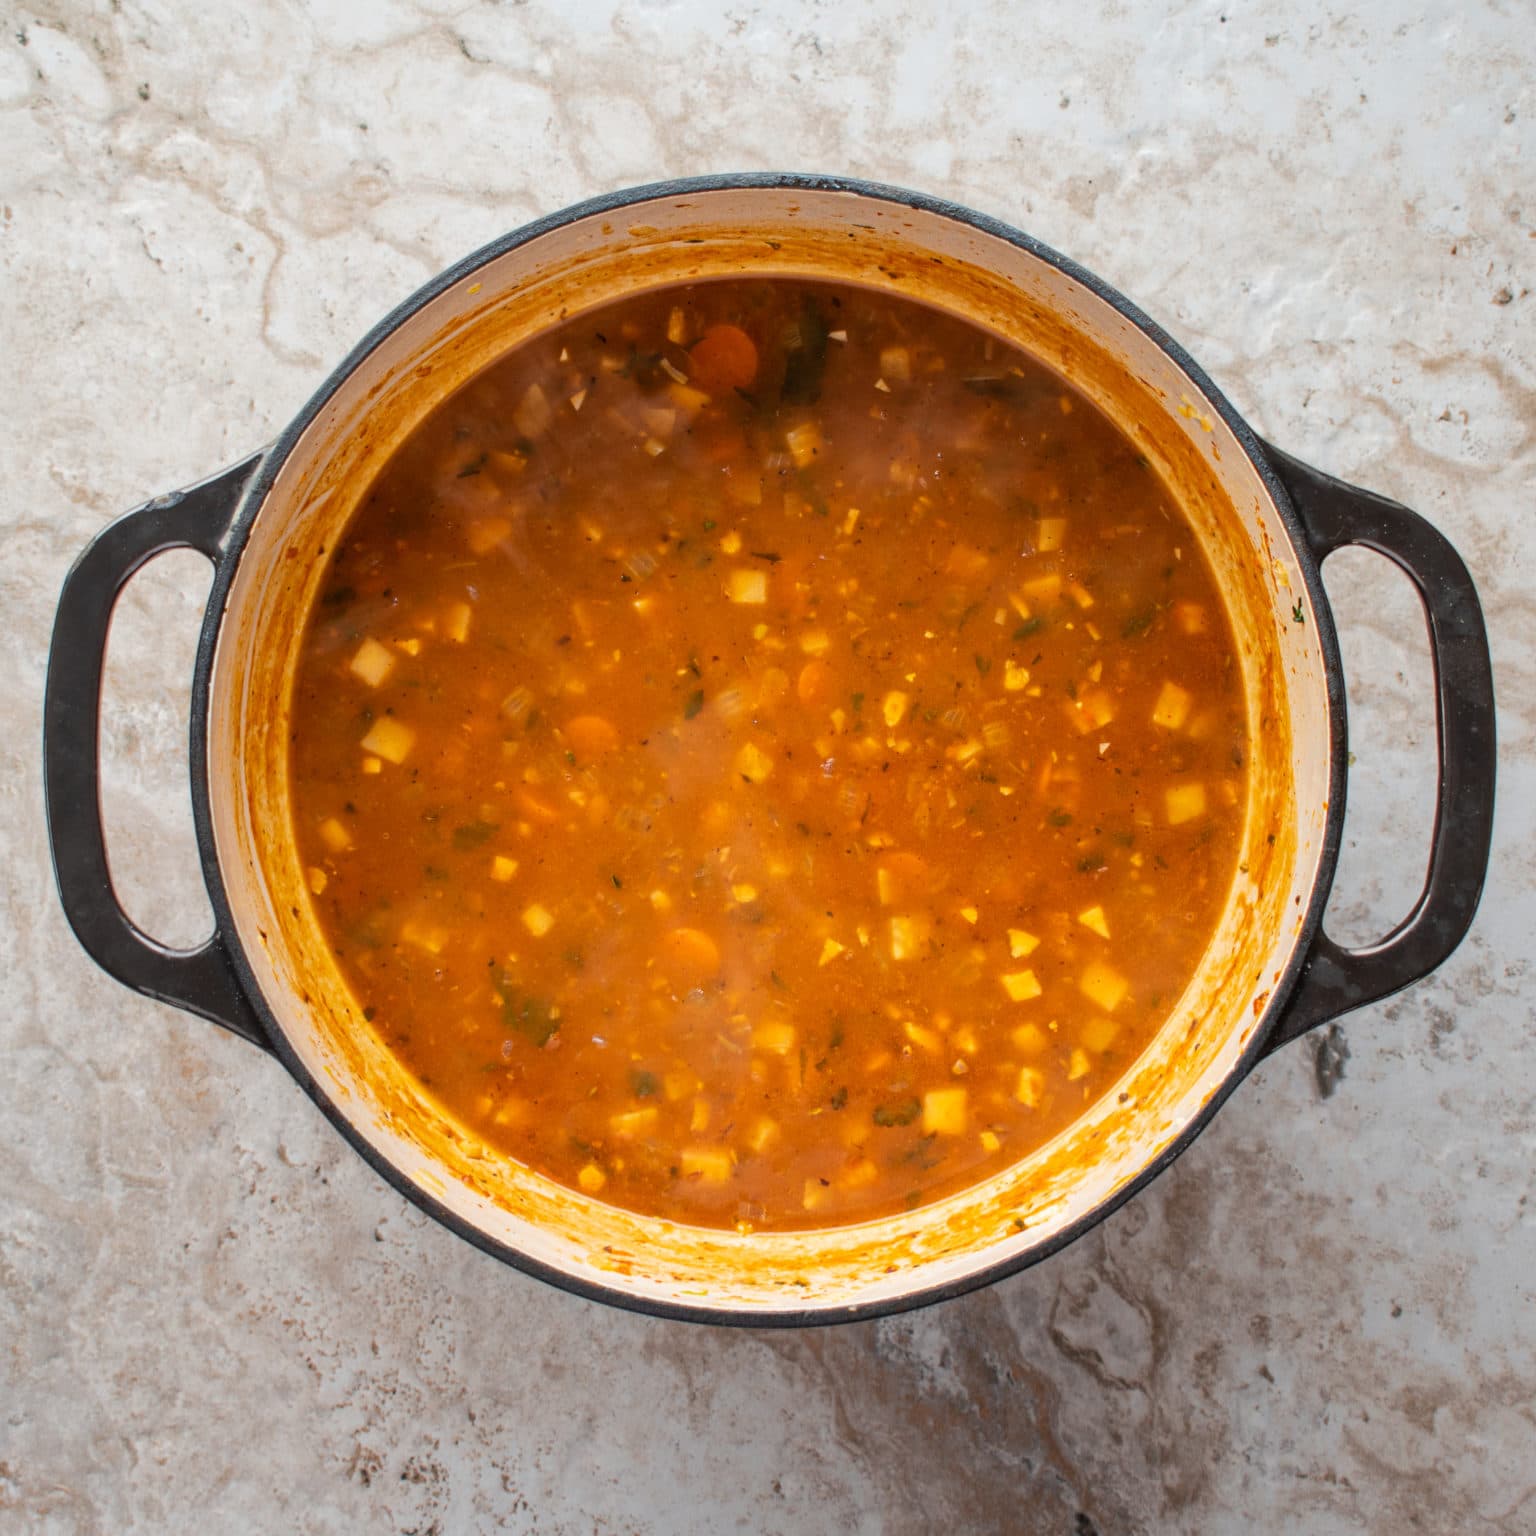
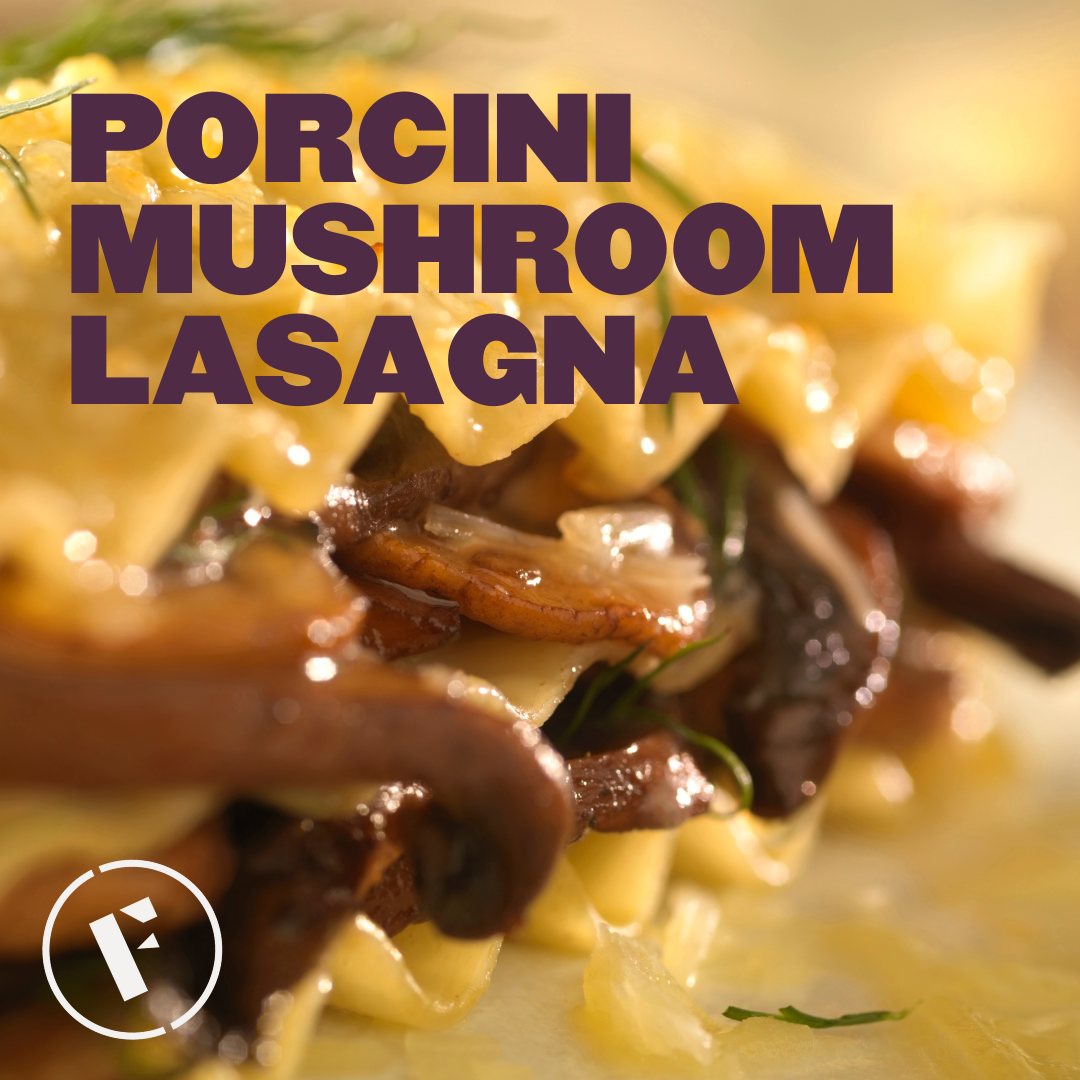
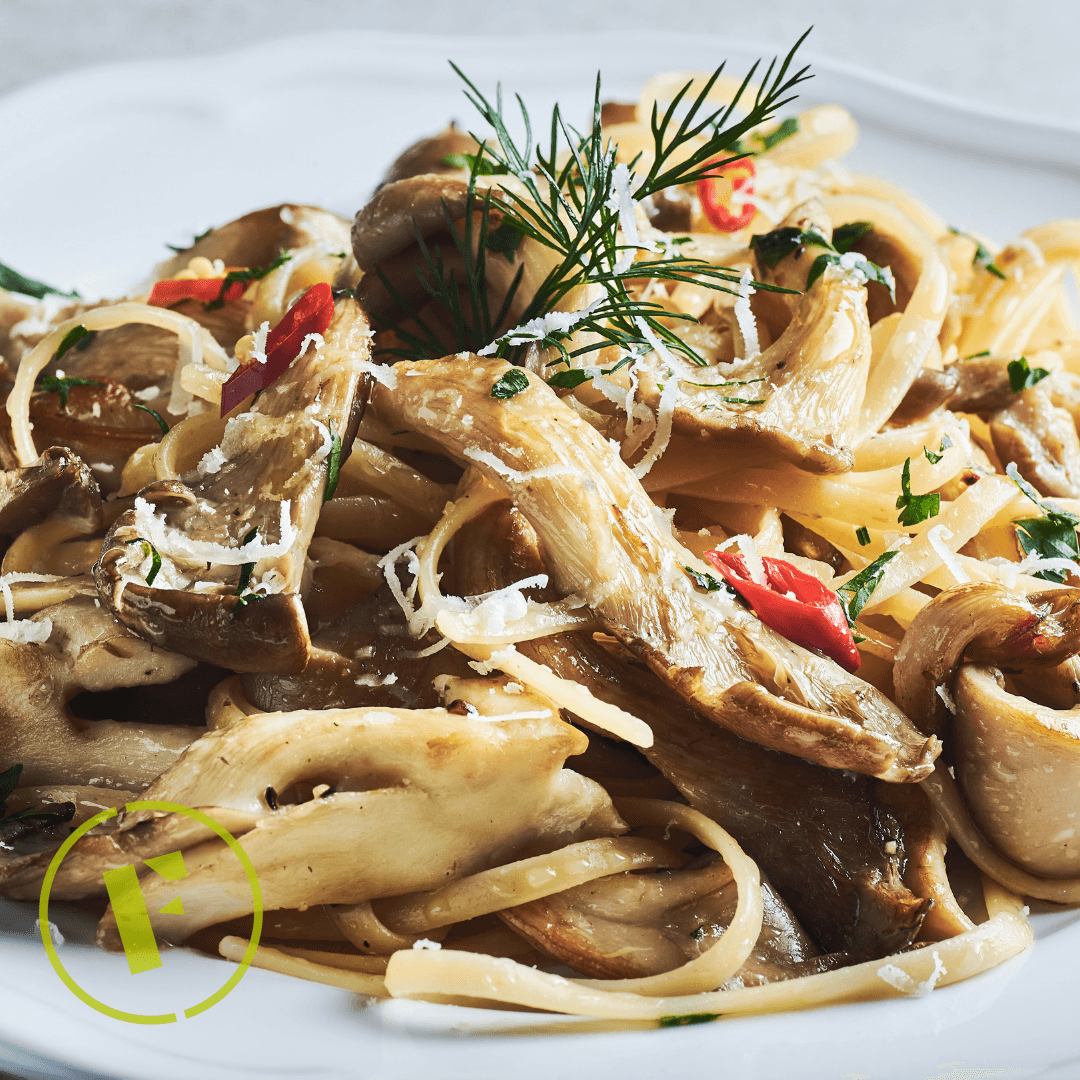
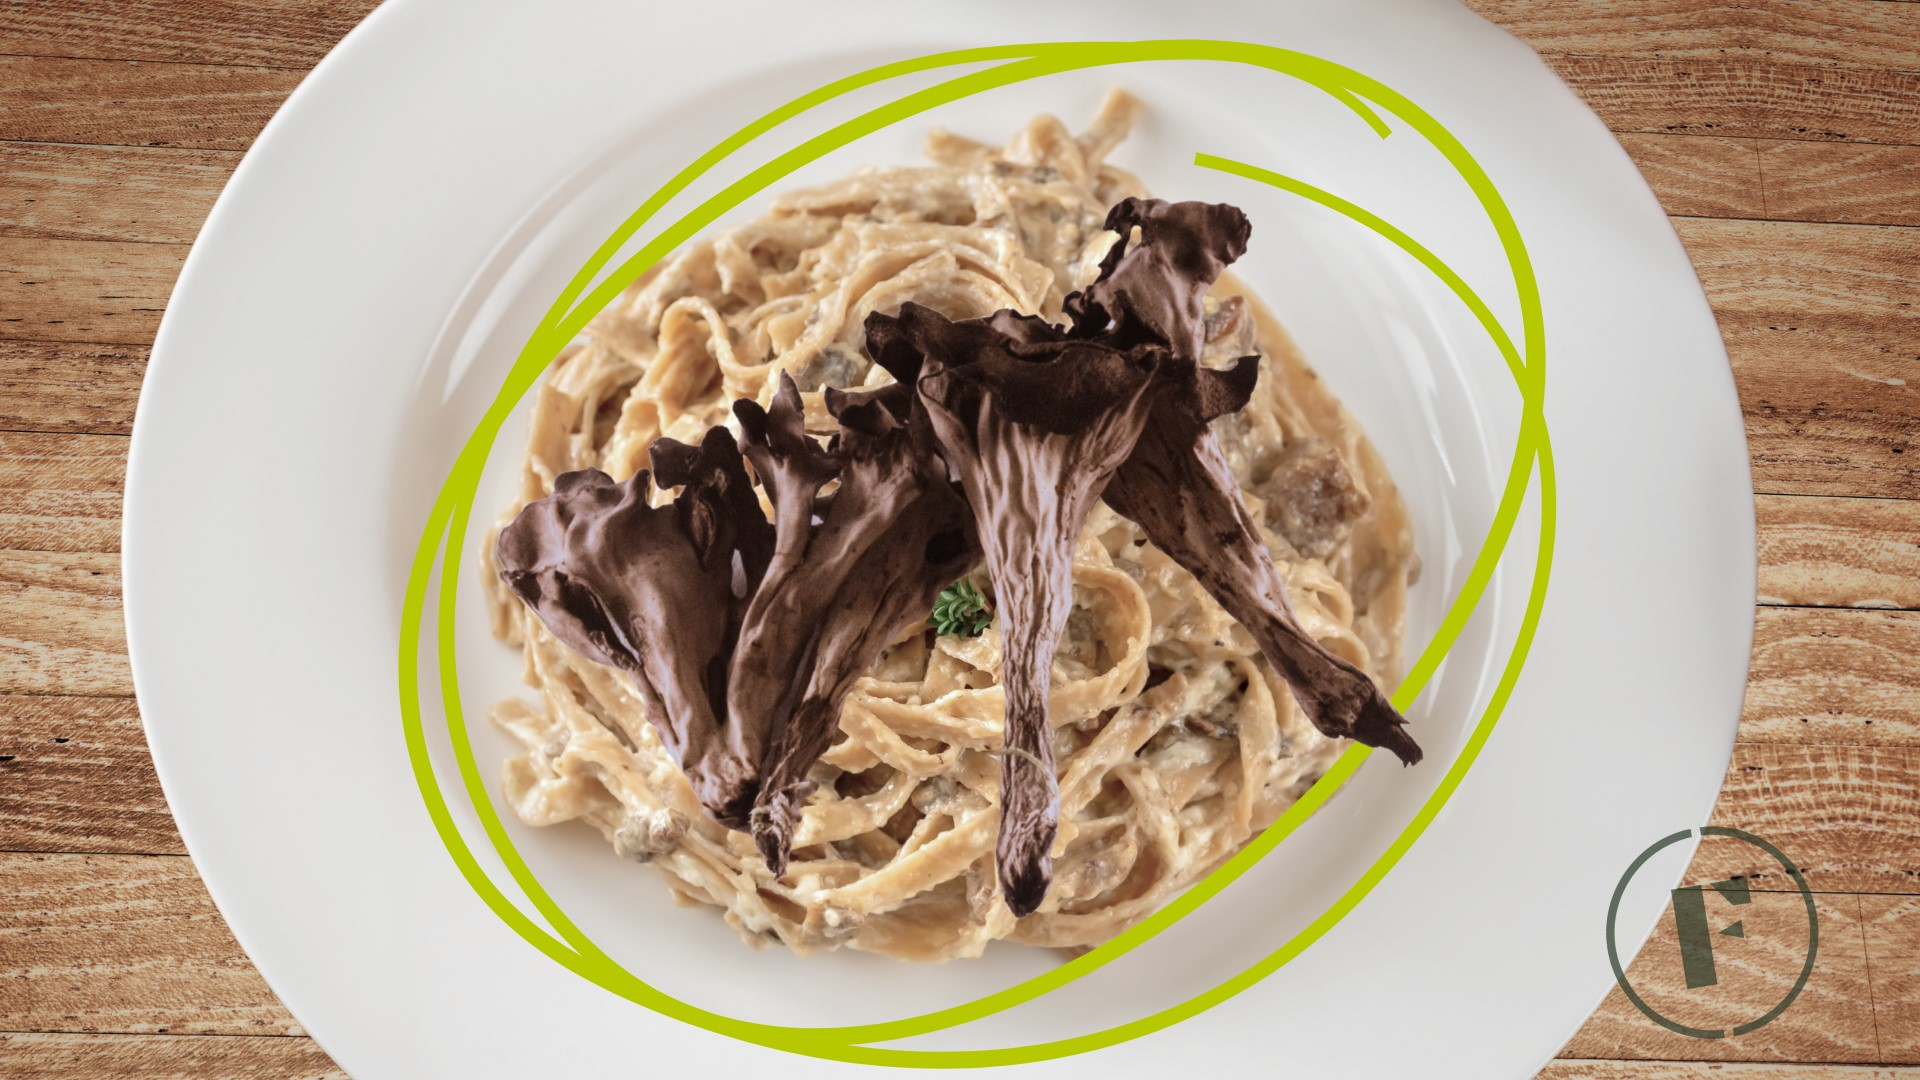
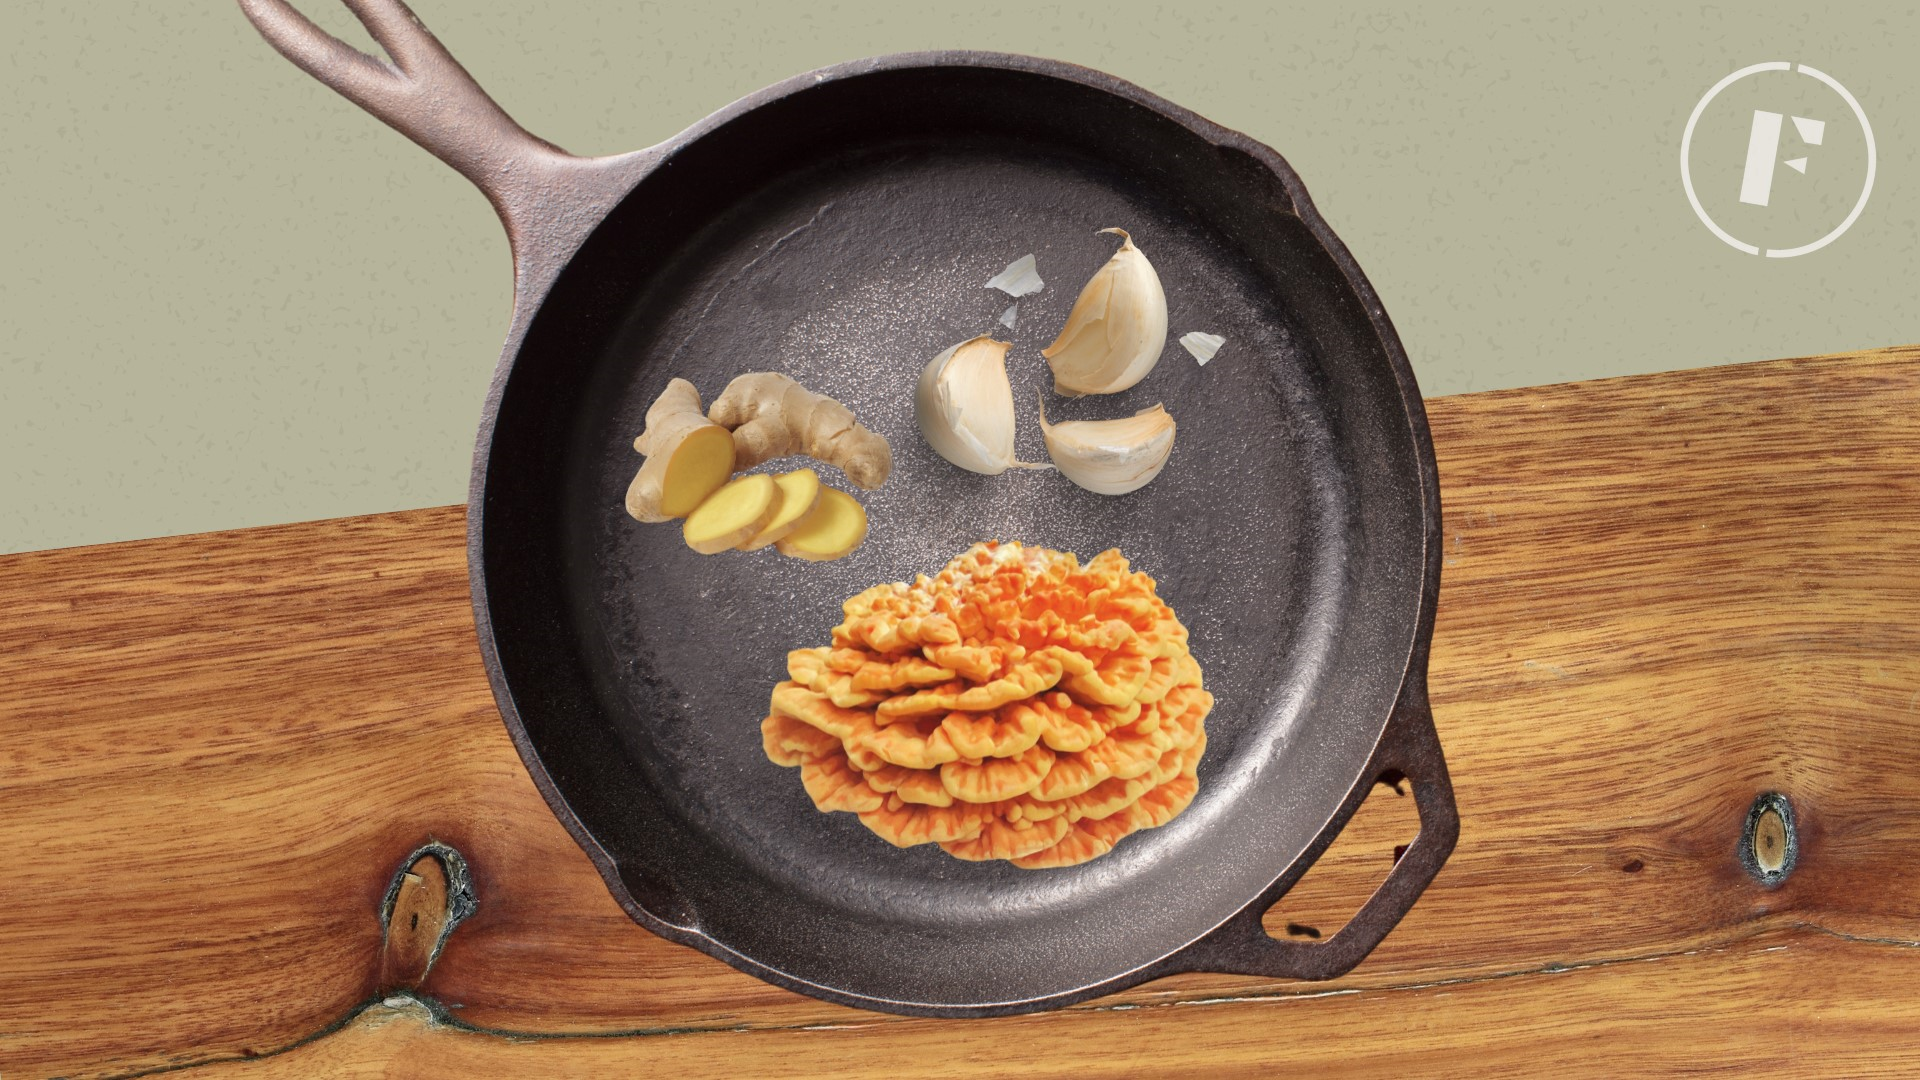
There are many ways to cook oyster mushrooms, which makes them a great addition to any meal. They can be cooked in butter or oil until golden brown, roasted in the oven, or even grilled on a skewer. Before cooking with oyster mushrooms, you should make sure to clean them well and get rid of any tough stems or other debris. You can also marinate them in soy sauce, garlic, and other spices to give your dish more flavour. Since oyster mushrooms taste and feel like meat and are high in protein, they are a great substitute for meat for vegetarians or anyone who wants to eat less meat.
Closing Considerations
Growing oyster mushrooms at home is a fun and rewarding hobby that can provide you with a fresh and sustainable source of food. With a bit of care and attention, you can grow your own delicious and nutritious mushrooms in just a few weeks. Whether you're a seasoned gardener or a beginner, there's no better time to start growing your own oyster mushrooms at home.
About Foraged
At Foraged, we’re on a mission to empower small-scale food purveyors to grow healthy, sustainable businesses while nourishing everyday people by providing easy access to unique foods.
By supporting Foraged vendors, you're helping to build a better, more sustainable food system for everyone.
Plus, we're committed to doing things the right way - our platform puts the power back in the knowledgeable hands of those who grow, harvest, and create foods most responsibly.
And we don't just stop there, we also want to make sure you know how to cook and preserve the specialty foods you source from Foraged, which is why we provide educational resources and delicious recipes for you to try.
Popular Mushroom Recipes